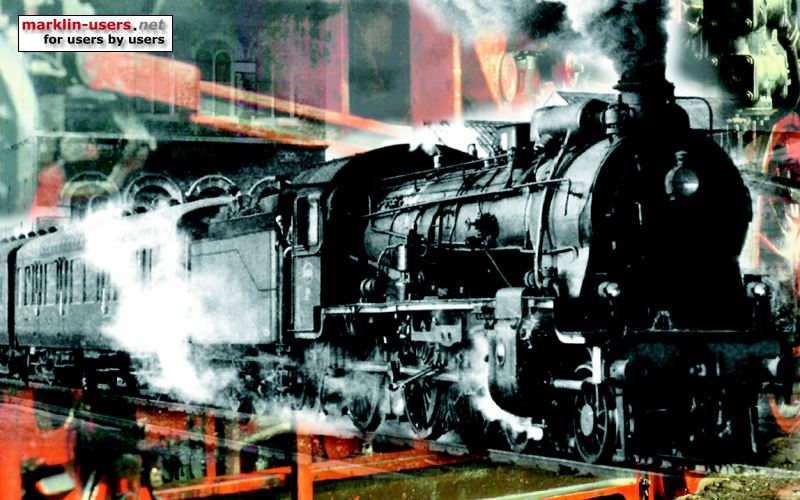
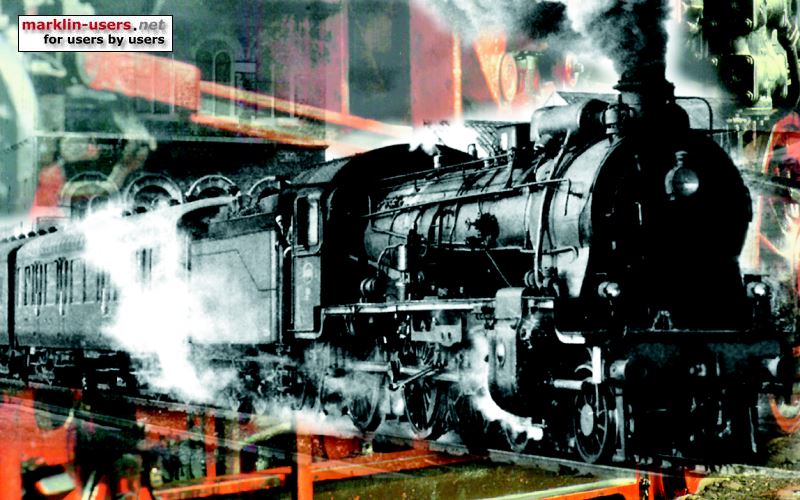
With the housing thouroghly clean, it was primed. I use Tamiya primer. you should aim for a coat that is as thin as posssible, while still covering everything. I tend to err on the thin side, as more can always be added.
Once it had some time to cure, I filed down all the spots that had become raised due to zinc pest. Rough spots are much easier to see whith the primer on than without. I also discovered that there were some rough spots on the top of the boiler, including file and grind marks. Seeing as the origional paint was still on it, It must have been done in the factory

I guess even then Marklin didn't always get it right. A coat of light coloured paint can be very revealing, I noticed the housing and tender both read DA 800. She's an old gal

Purists have been warned

I actually quite like just how much detail is on the loco. In black you notice this much less, but there's a fair bit, considering the age of the tooling.
Anyway, back to the overhaul.
With the first bit of filing out of the way, Tamiya putty was applied, and it was left overnight to cure.

As I'm not giving the boiler bands any special treatment, I thought I would show how I would paint them.
There are two ways to do it: Either do the band colour first or second. If you can get strips of masking tape cut to the right width evenly, you can paint the band colour, then apply the tape strips and paint the cladding colour. The major downside to this is that it is extremely hard to cut strips of tape that have an even width across their lrngth, and it is very hard to get the tape dead straight.
I prefer to use method number two: cut strips of tape that are slightly wider than half the space between two boiler bands. The width is not critical, as long as one side is dead straight. Now cut the tape to length. it may be easier to cover one side of a boiler band with multiple pieces, especially if you have a lot of piping to mask around.
I cut all my tape on a clean pane of glass(I use a broken one from the fireplace) Which ensures that the tape will still stick and the cuts are perfectly clean.
Start by pulling the tape under any handrails or other pipes by poking one corner through first and then pulling the rest through with tweezers. Be careful not to let it stick to the boiler. Now bring the tape to where you want to start taping, and pull the tape tight and sligtly against the edge of the boiler band. Use the ridge of the band to your advantage. As you work around the model, work slowly and push down on the tape with the back edge of a hobby knife or a piece off wood to make the tape stick. If you make a mistake, pull the tape back and try again.
When a moulded on obstace is reached, I push the tape into the corner before going over the pipe, beng careful not pull the tape out of the corner.
Once the sides of the bands are done, I go over any other spots with small bits of tape.
Then we are ready to paint:

Rick