
Rebuilding Primex 33005, DB 023 033-4 (or Märklin 3005), to digital with Märklin conversion set 60903
Updated 09.03.2014
This conversion method may also be used on Märklin 3005, as the Primex 33005 and the Märklin 3005 are quite identical. The Märklin 3005 was built in six different versions from 1954 to 1972. From 1954 to 1957 it was called DA 800
Primex was made by Märklin from 1969 to 1992. Normally the Primex models were rather simple, and had a more sophisticated Märklin "counterpart". To keep the Primex name alive, Märklin offered two Primex locomotives even after stopping the production. That was item no. 30031, DRG 24 069, produced in 1996 and 1997, and the 33005. More information about Märklin and Primex can be found on this German link. A couple of freight cars has also been offered from Primex since production stop.
The Primex 33005, DB Br 23, was produced in 2000 and 2001 and had a Delta decoder.
Primex 33005, DB 023 033-4 after the conversion:
Preparations:
Remove the motor and the Delta decoder (Märklin 3005 had a electro-mechanical
reversing unit). Remove the wire the the front bulbs and the contact plate
behind the bulbs. Remove the bulb holder. Make sure that all axels and gears revolves smoothly. Clean
if required.
Conversion parts:
All the main parts I needed for the conversion came from the 60903
conversion set. The newer mfx conversion set 60923 could also be used.
Se part list at the bottom of the page.
The 60903 and 60923 conversion sets are not available any more, so today I would have used the
Märklin motor set 60943 (same motor as in 60903/60923) and the Märklin decoder
set 60942, called mLD (märklin Lok Decoder).
Motor:
Installation of the motor itself is very simple. Remove the old motor
and make sure that all the rotating and moving parts are clean and work
perfectly. Install the new motor from the conversion set. Carefully
add one small drop of oil to each end of the rotor. To much oil will harm
the operation of the motor. Before inserting the brushes, check once more
that everything rotates and moves normally. Finally, insert the brushes.
The
front brush spring stopper have to be adjusted a little bit downwards, less than
0,2 mm (see red
arrow), not to
hit the inside of the locomotive body, below the forward facing window.
Brush plate problems:
Reports form other people converting the Br 23, Märklin 3005, states that there may be other
parts of the brush plate hitting the locomotive body. In my case it was
not, but there may be differences in the car body over the many years of
production. Check carefully, to avoid any short circuits.

Decoder:
The decoder is installed where the Delta decoder used to be, in a 258820
decoder holder.
Decoder functions:
f0 = light with directional change, two in both ends
f1 = smoke unit (will probably be installed later, see loose wire end above the decoder)
f2 = interior light, driver's cabin, 28 Volt T1 bulb
f4 = acceleration and braking delay off

This photo was shot during the test driving.
Front lamps
Normally the 33005 has two bulbs, Märklin no. 600000, inserted in the front
bulb holder, connected directly to the locomotive chassis. In digital
operation, this will give a very bright and flickering light. I installed
two 600080, and connected them in series. This gives a much dimmer light, more
suitable for an old steamer, and the bulbs become insulated from the locomotive
chassis. The connection between the grey and the orange wire gives a
constant and flicker free light.
I removed the front axel and coupler holder, remove the bulb contacts and
the bulb holder itself. By adjusting the bulb holder a little bit, the
600080 bulbs fitted perfectly.

The connections behind the bulbs. The holder for the original bulb contact plate is installed to secure the wires:

The gray wire from the decoder is connected to the outer pin on the RH bulb. A short piece of violet wire is connected between the inner pins of both bulbs, and the orange wire to the decoder is connected to the outer LH bulb. It gives this light:

Before attaching the locomotive body to the locomotive, I insulated a part of the inside of the body. Some clips are used to install a handrail outside the boiler. These may touch some electrical parts inside the locomotive. I used normal black insulation tape. The simple windows are also visible in the photo.

Rear light in the tender:
I also wanted rear light, so two holes were drilled in the centre of the indicated lamps.
Light guides from the NoHAB diesel (Märklin spare part number 215230) was glued into position.
The bulb holder is cut off a SIL (Single In Line) holder, and secured to the
tender chassis with some green detachable stuff. Also the wires are
secured this way. I had to cut a small groove in one of the inner walls in
the tender, to give space for the wires. See the red arrow. The
green stuff doesn't look nice, but it is flexible and may be adjusted a bit to
fit the tender inside when installing the tender body to the chassis.

When assembled, the rear end of the tender bottom looks like this. Notice the two wires and the green stuff visible next to the screw.

The connection from the locomotive to the tender is made with two cut pieces from the SIL holder. One is glued to the locomotive, the other one is soldered to the wires from the rear lamp.

The rear light from the outside:

Rear close coupler
I have rebuild the rear coupler to a Märklin close coupler, using a coupler from
the set 7205, containing 40 coupler for cars and 10 for locomotives. I have
used one for a car and cut off the inner end.

I cut the original coupler and bent it in an S-shape. Then I glued a locomotive coupler from 7205 in place, and secured it by bending the two "ears" meant for the moving part of the original coupler. From below it looks like this:

Interior light
As it may be seen on the photo of the motor, I have installed a small T1 bulb on top
of the motor. This bulb is also installed in a piece of a SIL holder, just like the rear light.
A have also made some simple windows, cut from clear plastic.
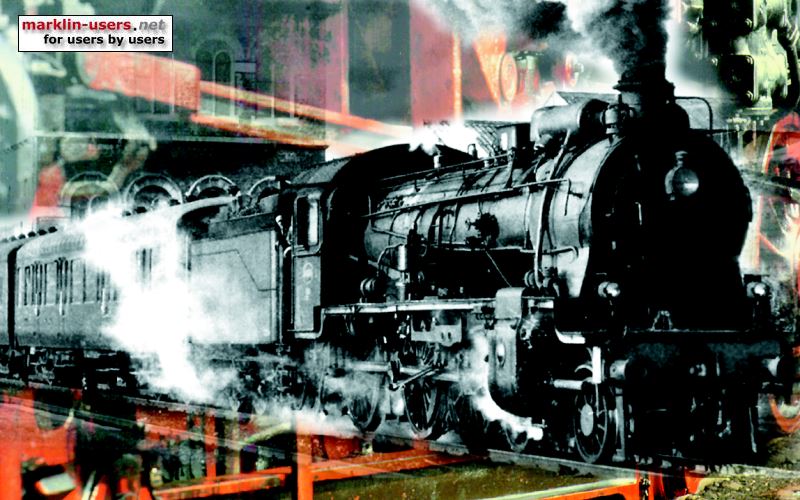
A photo of the locomotive during a test run:

Parts used for the conversion:
Information about the prototype DB Br 23:
Märklin no.
Pcs.
Description
Locomotive
60903
1
Conversion set with c91 decoder
258820
1
Decoder holder
786790
1
Screw for decoder holder
600080
2
Bulbs, front light
-
1
28V T1 bulb, interior light
-
1
Interior lamp holder, cut from a SIL socket
-
1
2-pole female connector, to tender, cut from a SIL socket
Tender
215230
2
Light guides for rear light
7205
1
Rear coupler modification
-
1
28V T1 bulb, rear light
-
1
Rear lamp holder, cut from a SIL socket
-
1
2-pole male connector, to locomotive, cut from a SIL socket
| Road numbers: | 23 001–105 |
| Number produced: | 105 |
| Manufacturers: | Henschel, 29 units Jung, 51 units Krupp, 21 units ME, 4 units |
| Years of manufacture: | 1950 - 1959 |
| In operation: | up to 1976 |
| Axle arrangement: | 2'C h2 or 2-6-2 |
| Type: | P 35.18 |
| Gauge: | Standard, 1,435 mm |
| Length over buffers: | 21.325 mm |
| Height: | 4.550 mm |
| Width: | 3.050 mm |
| Wheel base: | 9.900 mm |
| Empty weight: | 74,6 t |
| Service weight: | 82,8 t |
| Adhesive weight: | 56,0 t |
| Axle load: | 18,7 t |
| Top speed: | forwards: 110 km/h backwards: 85 km/h |
| Power: | 1.323,5 kW |
| Leading wheel diameter: | 1,000 mm |
| Driving wheel diameter: | 1,750 mm |
| Trailing wheel diameter: | 1,250 mm |
| Valve gear: | Heusinger |
| Number of cylinders: | 2 |
| Cylinder bore: | 550 mm |
| Piston stroke: | 660 mm |
| Boiler pressure: | 16 kg/cm2 |
| Grate area: | 3,11 m2 |
| Radiation heating area: | 17,1 m2 |
| Heated pipe area: | 139,18 m2 |
| Superheated area: | 73,80 m2 |
| Evaporative heating area: | 156,28 m2 |
| Tender: | 2'2' T 31 |
| Tender service weight: | 61,4 t |
| Water capacity: | 31 m3 |
| Coal capacity: | 8 t |