Updated 25.03.2013
This is Märklin 34988. I have rebuilt Märklin
00380-1,
3099 and 34988, which basically are
identical.
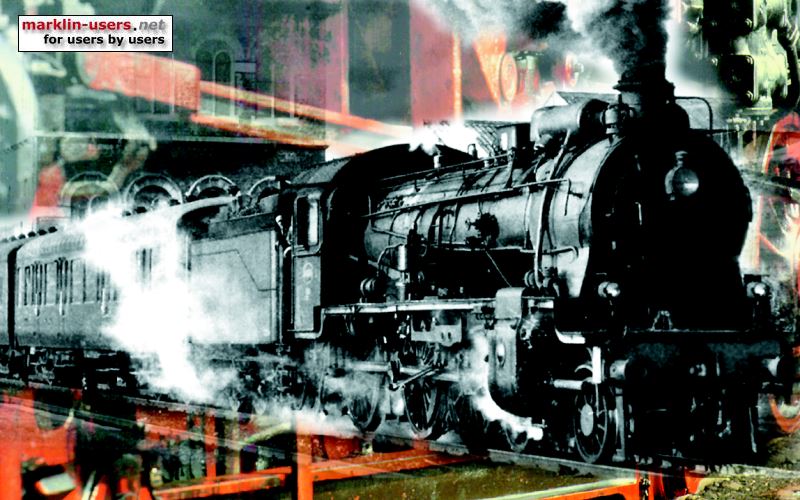
Märklin 34988
The insides of the 34988. The lamp above the circuit board is to be moved
to the driver's cabin.

Decoder:
I installed the decoder in an old 6090 decoder cover, glued to the weights in
the tender. The pick-up shoe is installed under the tender.
The noise suppressors are installed on a small experimental printed circuit board, which is installed where the
reverse unit used to be. Also the brown ground wire and the brown/red wire
for f1 are soldered to the circuit board.
Decoder functions:
f0 = light with directional change, three in front, two rear
f1 = interior light, driver's cabin (not installed yet)
f2 = rear light on also in forward direction
f4 = acceleration and braking delay off
Front and rear light:
Front light:
The front lamps are replaced by small grey bulb sockets (604180). I installed a 28
Volt T1 bulb to reduce the light intensity.
Rear light:
Light guides from NoHAB Di3 (Märklin part number 215230) are installed in the two
lower lamps, after carefully drilling holes in the centre of the indicated lamps on the rear tender wall.
A small two-pole SIL (Single In Line) socket is glued to the tender floor, holding
the 28 Volt T1 bulb.
Motor:
Installation of the motor itself is very simple. You need to remove the screw for
the left hand control rods to access the lower motor cover screw.
It is not necessary to remove the rods. Carefully bend the rods aside to
access the lower motor cover screw.
Notice the flat area above the rotor shaft. Approx. 1 mm have to be cut off to make the locomotive body fit. I used a sharp knife.
The motor photo is from 00380-1. Only the locomotive colour is different from
the 34988.
