
This set was produced in 1990 and 1991, for details about the set, see 2847_set.htm
Updated 22.12.2013
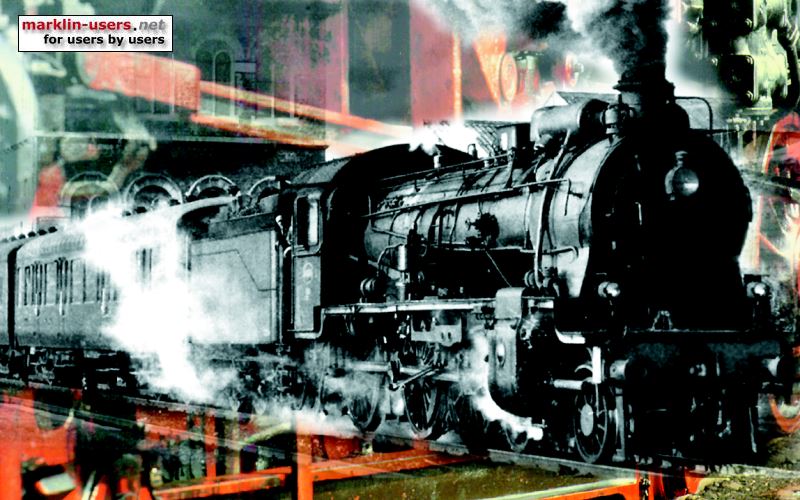
Märklin 2847, OC freight train
This set was produced in 1990 and 1991, for details about the set, see
2847_set.htm
Locomotive OC 3, Em 3/3:
Conversion parts:

For the 28476 I used the motor and small parts from s conversion set 60903
and a small decoder left over from an earlier modification, The
newer motor set 60943and a 60962 mLD decoder do the job perfectly. Only the decoder is different between the three conversion
sets for small flat collector motor, 60903, 60923 and 60943. See sfcm conversion sets:
A rather simple and straight forward conversion. There are no needs for any modification to any parts.
Decoder:
I used a small fx decoder originally installed in Märklin 37510 and 37512,
Märklin part no, 606709 (I think). This is a simplified remotely
programmable decoder with only motor and front and rear light outputs
The decoder is installed at the same place as the original reversing unit.
It is installed in the holder 258820.
Maybe I As far as I know: All the remotely programmable decoders from Märklin have the possibility to program the maximum speed very low, for this locomotive only 45 km/h.
The 60903 motor and small decoder in 0C3 Em 3/3:
Motor:
Installation of the motor itself is simple. After removing all the existing
parts (motor, reversing unit, lamp etc.), clean the chassis and make sure
that everything (transmission and wheels etc.) is turning smoothly. Install the new
motor, firstly without the brushes. Check once more that everything revolves
freely. Install the brushes.
Lamps:
I do not remember if I had to do something to the lamps in this locomotive, but
I think that it already had the bulb sockets installed, Märklin part no. 624510, If not, just press
the new ockets into the original bulb "holes in the chassis, to use the 610080 bulb. See the
below photo.
All the lamp connections are insulated from the locomotive chassis.
The rearsocket 624510 is press fitted into the original bulb "hole"
![]()
Example photo from Märklin28452, NS DH 360 Ca.
Wire colours:
| Wire colour | function | Connecting to |
|---|---|---|
| Red | B (centre contacts) | pick-up shoe connector |
| Brown | 0 (tracks) | locomotive ground |
| Blue | Motor brush | rear brush holder |
| Green | Motor brush | front brush holder |
| Orange | Common + | both lamp holders (front and rear light) |
| Grey | Forward light | Front lamp holder |
| Yellow | Reverse light | Rear lamp holder |
Rear car:
as the rear car has a flashing red light, I wanted to be able to switch it on
and off.

The car has an origibally instaled oick-up shoe and a circuit board for the
flashing red light.
Decoder:
I used an old Märklin 6080 decoder, left over from an earlier conversion.
Only the light outputs are used,
The 6080 decoder:

The brown wire to the decoder is soldered to the ground connector on the
original light circuit board in the car,
The gray wire is soldered to both the front and rear light solder pads on
the decoder and to the light terminal on the light circuit board.
The red wire to the decoder is soldered directly to the pick-up shoe base.
The 6080 decoder sits in a 6090 decoder cover, lightly modified to fit with the
bigger DIL switch on the 6080 decoder.
The cover is fixed with Tack-it from Faber Castell to the metal plate
visible in the above photo.

It does not look very good, but the green stuff does the job and is removable
without traces.