Updated 23.03.2013
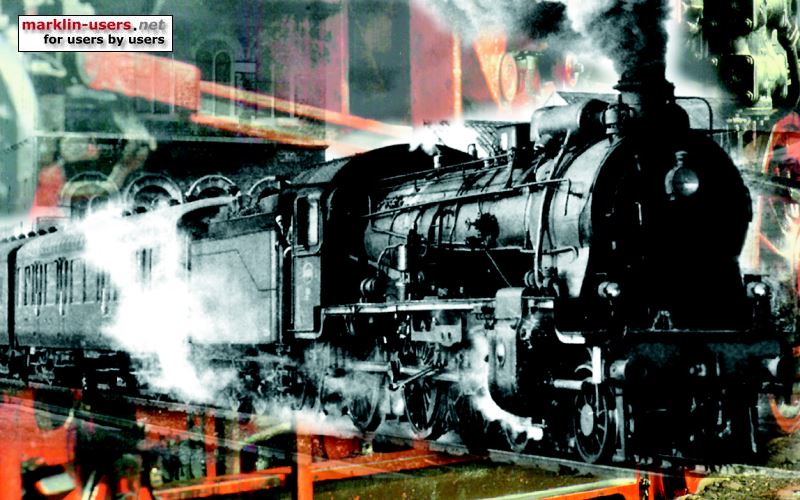
Märklin 26730 locomotive
This crocodile came in the train set 26730, originally fitted with a 6090 digital decoder.
Motor:
This locomotive already had the five-star high efficiency motor, so no modifications are done to the
motor itself. Two capacitors are removed, they were connected between each brush holder and the locomotive chassis, at the ground tag
under the upper screw for the motor cover. The ground tag is moved to the
lower cover screw.

Decoder:
I glued in the 60922 decoder where the
old decoder used to be. The ground screw next to the decoder is installed
by me. It used to be a small plug only. To secure as good ground
connection as possible, I replaced it with a screw, after cutting 2 mm threads. The newer Crocodiles
from Märklin, e.g. the 39561, has this screw originally fitted.

The functions:
f0 = three white front lights and one rear white light, changing with the direction
f1 = interior light
f2 = rear red light, if f0 is on, changing with the direction
f3 = shunting speed
f4 = acceleration and braking delay off
Light control:
The lower left and the upper front lights are
illuminated by one bulb, the lower right with another bulb, to achieve the Swiss
light change, where the three front lamps and the rear lower right is
illuminated. I wanted the possibility to alter the rear lower right
between white and red. The white light is used when locomotive is pulling
a train, the red light if the locomotive is pushing or running on it's
own.
Front and rear light:
The lamps in both end is controlled separately with f0.
The original bulbs remains in place. In addition, a red smd LED is installed to make the rear red
light. The bulb holder makes a good separation of the two lamps, so the
red light is only visible in the lower right hand lamp.


If the light change is not synchronised, press f5.

Light control printed circuit board
I have made a light control pcb of a piece of experimental board.
This serves several purposes. It holds the two relays and
their 180 Ohm voltage drop resistors, as well as a diode to "kill" the
negative voltage sparks made by the relays when the coil current is cut. I
do not know if the kill diode is really necessary.
The same decoder output is used for Telex couplers in other locomotives, with
much more powerful coils than in the relays, without
any diode. But, as I use two relays, I installed the diode to be sure.
I used two relays because they were in stock. They may just as well be
replaced by one two-pole relay.
The board is also used to distribute the lamp current, as well as ground connection (the leftmost strip) and the power supply to the interior light (the rightmost strip).

The photo shows the circuit board before the first test. After testing, due to erroneous operation of the light, the lower right and the yellow jumper was replaced by1N4148 diodes, the cathode facing right. See the wiring diagram.

Interior light:
The interior light is controlled with f1. One 610080 bulbs is installed on
the motor, another on the contact tongue for the catenary power supply.
These two lamps are connected in series. The contact strip between the
pantographs is removed and some white paper is installed under the ceiling, for
better light distribution.


Later on I will probably install a white paper also in the other end of the ceiling. The black insulating tape is to avoid short circuit from the catenary contact tongue. The contact strip between the pantographs is removed. The screws for the pantograph have been replaced with Märklin part no. 750200 They have bigger heads than the original screws.

The parts I used to upgrade the Märklin 26730:
My setting of the decoder:
The decoder functions:
The f0 and f2 light functions:
Märklin Central Station screenshot:
26730 locomotive wiring diagram:
Märklin no.
Pcs.
Description
60922
1
Digital mfx decoder
610080
2
Bulbs for interior light
750200
2
Screws for pantographs
-
2
Mini mono-stable relay
-
2
Red smd LED
-
2
1N4148 diode
-
1
1N4002 diode
-
2
180 ohm resistor
-
2
1,5 Kohm resistor
-
1
10x11 hole experiment pcb
Decoder settings, 26730
Default
Mine
Analogue settings:
Enable analog mode
check
<
Starting voltage
7,300
<
Maximum voltage
23,000
<
Control settings :
Swap directions
uncheck
<
Max speed
255
80
Min speed
4,000
<
Acc time
7,000
8,000
Dec. time
3,750
7,000
Forward trim
1,000
<
Reverse trim
1,000
<
Motor settings:
Motor PWM-frequency
Low frequency
uncheck
<
High frequency
check
<
Load Control
Reference parameter
11,300
<
Control parameter K
60
<
Control parameter I
120
<
Control influence
255
<
Special options:
Preserve direction
check
<
Persistent acceleration
uncheck
<
Persistent speed
check
<
Persistent functions
check
<
60922
mfxFront light
Interior
lightRear red light
Shunting
speedAcc/
dec
End I
End II
End I
End II
f0
f.
3
1
<
r.
1
3
<
f1
f.
on
r.
on
f2
f.
if f0 on
r.
if f0 on
f3
f.
on
r.
on
f4
f.
delay off
r.
delay off
Driving
directionf0
f2
End I
End II
Forwards
on
off


on

Reverse
off
on


The two upper and lower light bulbs for the front and rear light are connected as
original in this locomotive. The 1N4148 diodes between the upper and lower lamps are also originally fitted as
shown in the diagram.
The 1N4001 diode on the relay board is there to kill negative voltage peaks when
the relays are turned off, to protect the decoder. Normally not required,
but as f2 controls two relays I installed the diode to be on the safe side.
The home made light control pcb:

A printed circuit board is used for distribution of the wires to all the
lamps. It is seen from the copper lead side. The drawing shows the
pcb as if it is transparent. All the components are installed on the top side (without
copper) of the pcb. The three short horizontal lines are jumpers, the two gray
rectangles are the relays. Finally there are two 180 ohm resistors, two
1N4148 diodes and one 1N4002 diode. On the prototype in the photos a part of the lower
right corner (3x3 holes) is cut off. This is not necessary.
The left copper strip is used for ground distribution, between the three locomotive
parts and the decoder.